How to use the glaze technique effectively
Paints can be mixed together to obtain new colours, but they can also be applied in layers, with results that can be vivid and eye-catching. This is what the glaze technique is all about.
Glazing is a standard technique in painting, whereby a thin layer of paint is applied on top of the main colour, resulting in rich, iridescent colours. The glaze technique requires special semi-transparent paints.
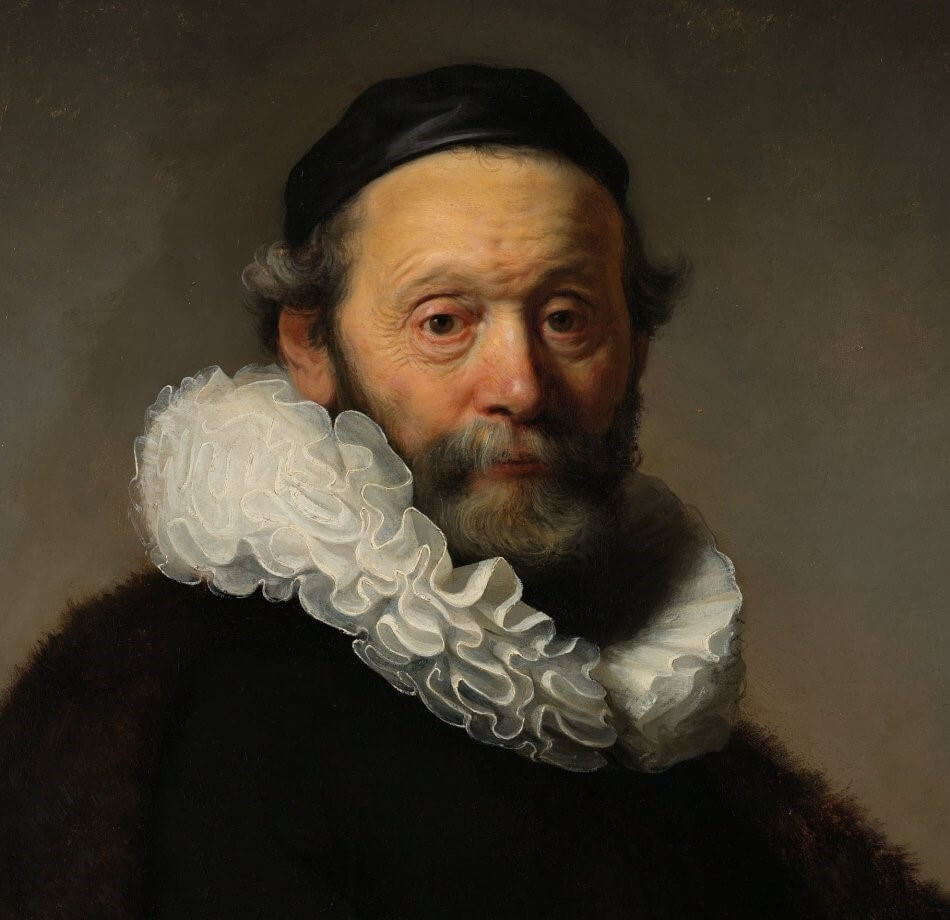
During the Renaissance, many artists used glazing as a way of mixing paints. Rather than combining them on the palette, they painted an extremely thin layer over the main colour. Each additional layer on top altered the colour beneath it, creating an effect similar to that of stained glass. The resulting tones were soft, saturated and gleaming.

Glazing and oil paints
Oil paints take longer to dry than any other paints, and therefore the glazing process will be a very lengthy one, for the key thing is to wait until the layer of paint is completely dry; failure to do this will result in the paints mixing together, leaving you with nothing more than a dirty stain. If you apply them correctly, however, you can create colours that are unlike anything else. Shades like this simply cannot be obtained by mixing paints on a palette in the normal way, for the transparent layers of paint both reflect the light and let it pass through them. Glazing is a form of optical mixing: the paints are mixed when we look at them. The upper layer alters the colour beneath it, without concealing it from view.
Glazing and other types of paint
Glazes can also be added to opaque layers of paint, as long as they are completely dry. If the shade you have obtained is too cold for your liking, there is always a way to redress the balance. Just apply a slightly warmer tone to it – or, if it is too warm, apply a cooler tone. If the painting is already finished but the contrasts seem to be too stark, a thin glaze can still be applied in order to harmonize the colours, without covering up what you have painted.
To save time, apply a glaze made of oil paints over an undercoat made of egg tempera, alkyd paints or acrylic paints. These options will take a matter of minutes to dry, rather than days. Apply the acrylic paint in a thin layer and wait for it to dry out completely, otherwise the oil won’t have anything to grip hold of, and cracks could appear. Incidentally, the process doesn’t work the other way around: you can’t apply acrylics on top of oil paints.
Glazing gives you an end result that cannot be achieved simply by mixing paints, for it results in extremely saturated tones that have a real sheen to them.
Application technique
If you mix the paint and a special solvent, you should be able to get the consistency of runny sour cream. You should avoid adding too much solvent at all costs. You can now apply a layer of transparent paint, then leave everything as it is for a few minutes. If the layer isn’t thin enough, and is too noticeable, take a clean brush and, holding the brush vertically, knock it against the paint – that way you’ll get rid of any excess paint. You should be left with a thin, shiny film, and beneath it – an undercoat that is clear to see. When the paint clumps together on the brush, wipe it off with a clean, dry cloth.
The glaze technique requires a careful approach and it cannot always be applied. It is a method that really makes the colours stand out. When you’re seeking to create depth using matt colours (if you’re painting the sky, for instance), glazing will not be appropriate.


